W3cubDocs
/AngularLesson 11 - Integrate details page into application
This tutorial lesson demonstrates how to connect the details page to your app.
Time required: expect to spend about 20 minutes to complete this lesson.
Before you start
This lesson starts with the code from the previous lesson, so you can:
- Use the code that you created in Lesson 10 in your integrated development environment (IDE).
- Start with the code example from the previous lesson. Choose the from Lesson 10 where you can:
- Use the live example in StackBlitz, where the StackBlitz interface is your IDE.
- Use the download example and open it in your IDE.
If you haven't reviewed the introduction, visit the Introduction to Angular tutorial to make sure you have everything you need to complete this lesson.
If you have any trouble during this lesson, you can review the completed code for this lesson, in the live example for this lesson.
After you finish
At the end of this lesson your application will have support for routing to the details page.
Conceptual preview of routing with route parameters
In the previous lesson, you added routing to your app and in this lesson you will expand the types of routing your app supports. Each housing location has specific details that should be displayed when a user navigates to the details page for that item. To accomplish this goal, you will need to use route parameters.
Route parameters enable you to include dynamic information as a part of your route URL. To identify which housing location a user has clicked on you will use the id property of the HousingLocation type.
Lesson steps
Perform these steps on the app code in your IDE.
Step 1 - Create a new service for your app
In lesson 10, you added a second route to src/app/routes.ts, this route includes a special segment that identifies the route parameter, id:
'details/:id'
In this case, :id is dynamic and will change based on how the route is requested by the code.
-
In
src/app/housing-location/housing-location.component.ts, add an anchor tag to thesectionelement and include therouterLinkdirective:template: ` <section class="listing"> <img class="listing-photo" [src]="housingLocation.photo" alt="Exterior photo of {{housingLocation.name}}"> <h2 class="listing-heading">{{ housingLocation.name }}</h2> <p class="listing-location">{{ housingLocation.city}}, {{housingLocation.state }}</p> <a [routerLink]="['/details', housingLocation.id]">Learn More</a> </section> `,The
routerLinkdirective enables Angular's router to create dynamic links in the application. The value assigned to therouterLinkis an array with two entries: the static portion of the path and the dynamic data.For the routerLink to work in the template, add a file level import of RouterLink and RouterOutlet from '@angular/router', then update the component imports array to include both RouterLink and RouterOutlet
-
At this point you can confirm that the routing is working in your app. In the browser, refresh the home page and click the "learn more" button for a housing location.

Step 2 - Get route parameters
In this step, you will get the route parameter in the DetailsComponent. Currently, the app displays details works!, next you'll update the code to display the id value passed using the route parameters.
-
In
src/app/details/details.component.tsupdate the template to import the functions, classes and services that you'll need to use in theDetailsComponent:import { Component, inject } from '@angular/core'; import { CommonModule } from '@angular/common'; import { ActivatedRoute } from '@angular/router'; import { HousingService } from '../housing.service'; import { HousingLocation } from '../housinglocation'; -
Update the
templateproperty of the@Componentdecorator to display the valuehousingLocationId:template: `<p>details works! {{ housingLocationId }}</p>`, -
Update the body of the
DetailsComponentwith the following code:export class DetailsComponent { route: ActivatedRoute = inject(ActivatedRoute); housingLocationId = -1; constructor() { this.housingLocationId = Number(this.route.snapshot.params['id']); } }This code give the
DetailsComponentaccess to theActivatedRouterouter feature that enables you to have access to the data about the current route. In the constructor, the code converts the id parameter from the route to a number. -
Save all changes.
-
In the browser, click on one of the housing location "learn more" links and confirm that the numeric value displayed on the page matches the
idproperty for that location in the data.
Step 3 - Customize the DetailComponent
Now that routing is working properly in the application this is a great time to update the template of the DetailsComponent to display the specific data represented by the housing location for the route parameter.
To access the data you will add a call to the HousingService.
-
Update the template code to match the following code:
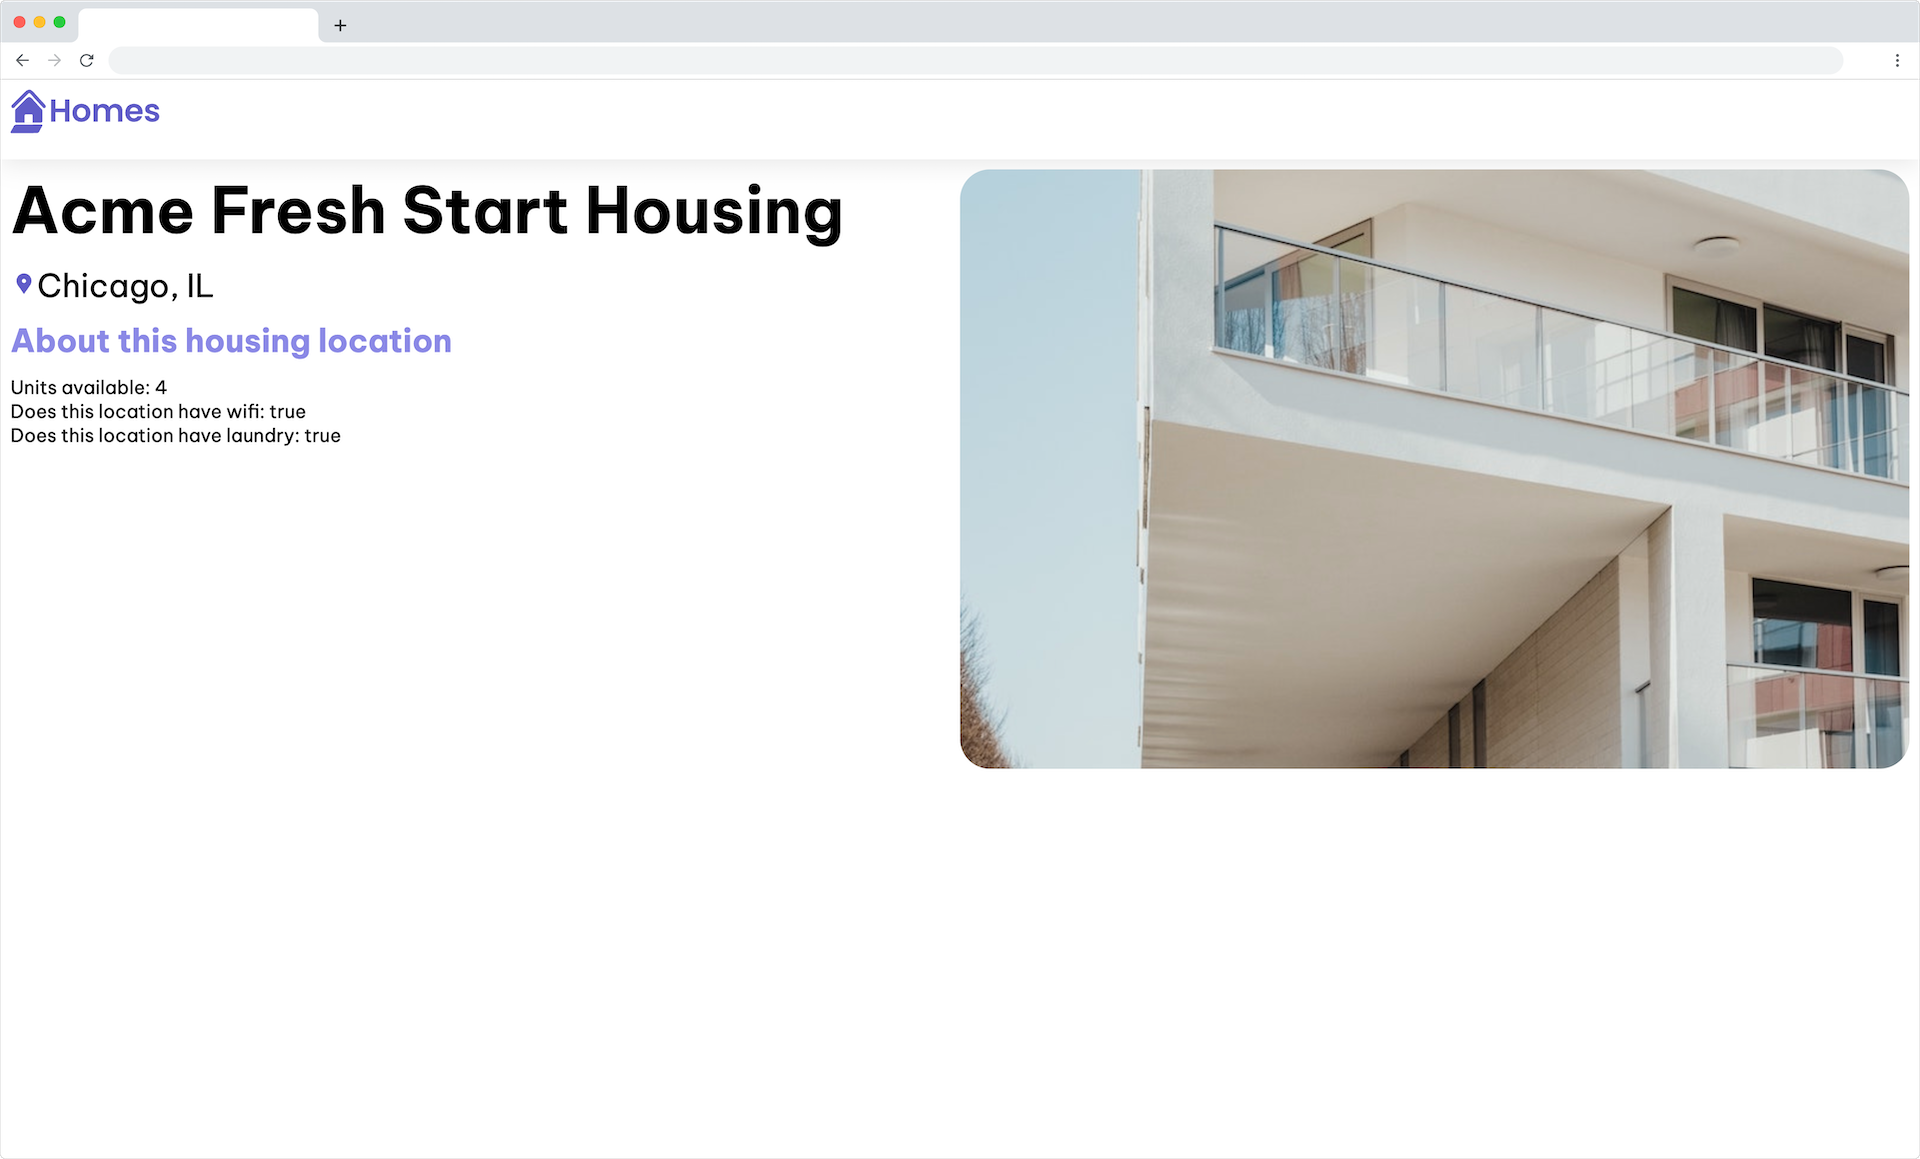
template: `
  <article>
    <img class="listing-photo" [src]="housingLocation?.photo"
      alt="Exterior photo of {{housingLocation?.name}}"/>
    <section class="listing-description">
      <h2 class="listing-heading">{{housingLocation?.name}}</h2>
      <p class="listing-location">{{housingLocation?.city}}, {{housingLocation?.state}}</p>
    </section>
    <section class="listing-features">
      <h2 class="section-heading">About this housing location</h2>
      <ul>
        <li>Units available: {{housingLocation?.availableUnits}}</li>
        <li>Does this location have wifi: {{housingLocation?.wifi}}</li>
        <li>Does this location have laundry: {{housingLocation?.laundry}}</li>
      </ul>
    </section>
  </article>
`,
Notice that the
housingLocationproperties are being accessed with the optional chaining operator?. This ensures that if thehousingLocationvalue is null or undefined the application doesn't crash. -
Update the body of the
DetailsComponentclass to match the following code:export class DetailsComponent { route: ActivatedRoute = inject(ActivatedRoute); housingService = inject(HousingService); housingLocation: HousingLocation | undefined; constructor() { const housingLocationId = Number(this.route.snapshot.params['id']); this.housingLocation = this.housingService.getHousingLocationById(housingLocationId); } }Now the component has the code to display the correct information based on the selected housing location. The constructor now includes a call to the
HousingServiceto pass the route parameter as an argument to thegetHousingLocationByIdservice function. -
Copy the following styles into the
src/app/details/details.component.cssfile:.listing-photo { height: 600px; width: 50%; object-fit: cover; border-radius: 30px; float: right; } .listing-heading { font-size: 48pt; font-weight: bold; margin-bottom: 15px; } .listing-location::before { content: url('/assets/location-pin.svg') / ''; } .listing-location { font-size: 24pt; margin-bottom: 15px; } .listing-features > .section-heading { color: var(--secondary-color); font-size: 24pt; margin-bottom: 15px; } .listing-features { margin-bottom: 20px; } .listing-features li { font-size: 14pt; } li { list-style-type: none; } .listing-apply .section-heading { font-size: 18pt; margin-bottom: 15px; } label, input { display: block; } label { color: var(--secondary-color); font-weight: bold; text-transform: uppercase; font-size: 12pt; } input { font-size: 16pt; margin-bottom: 15px; padding: 10px; width: 400px; border-top: none; border-right: none; border-left: none; border-bottom: solid .3px; } @media (max-width: 1024px) { .listing-photo { width: 100%; height: 400px; } } -
Save your changes.
-
In the browser refresh the page and confirm that when you click on the "learn more" link for a given housing location the details page displays the correct information based on the data for that selected item.
Step 4 - Add navigation to the HomeComponent
In a previous lesson you updated the AppComponent template to include a routerLink. Adding that code updated your app to enable navigation back to the HomeComponent whenever the logo is clicked.
-
Confirm that your code matches the following:
template: `
  <main>
    <a [routerLink]="['/']">
      <header class="brand-name">
        <img class="brand-logo" src="/assets/logo.svg" alt="logo" aria-hidden="true">
      </header>
    </a>
    <section class="content">
      <router-outlet></router-outlet>
    </section>
  </main>
`,
Your code may already be up-to-date but confirm to be sure.
Lesson Review
In this lesson you updated your app to:
- use route parameters to pass data to a route
- use the
routerLinkdirective to use dynamic data to create a route - use route parameter to retrieve data from the
HousingServiceto display housing location specific information.
Really great work so far.
If you are having any trouble with this lesson, you can review the completed code for it in the live example.
Next Steps
More information
For more information about the topics covered in this lesson, visit:
© 2010–2023 Google, Inc.
Licensed under the Creative Commons Attribution License 4.0.
https://angular.io/tutorial/first-app/first-app-lesson-11